Alice Crowe
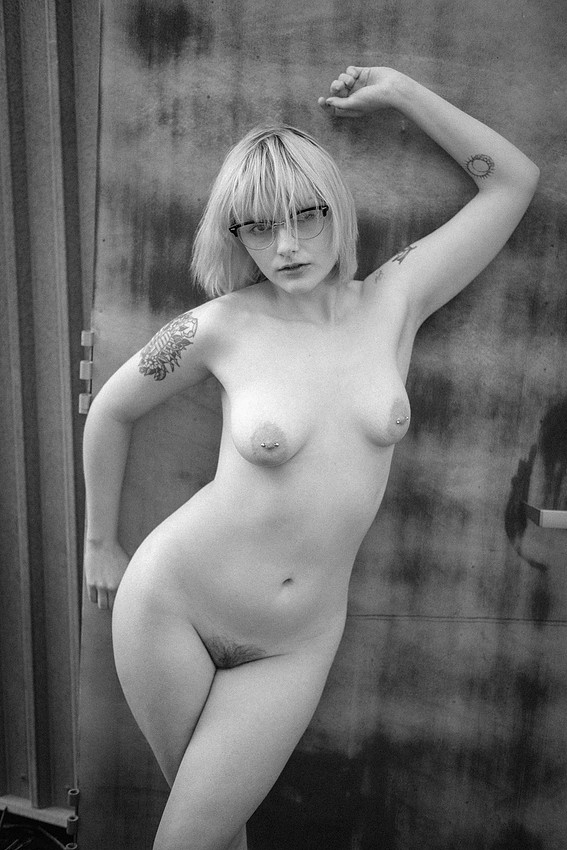

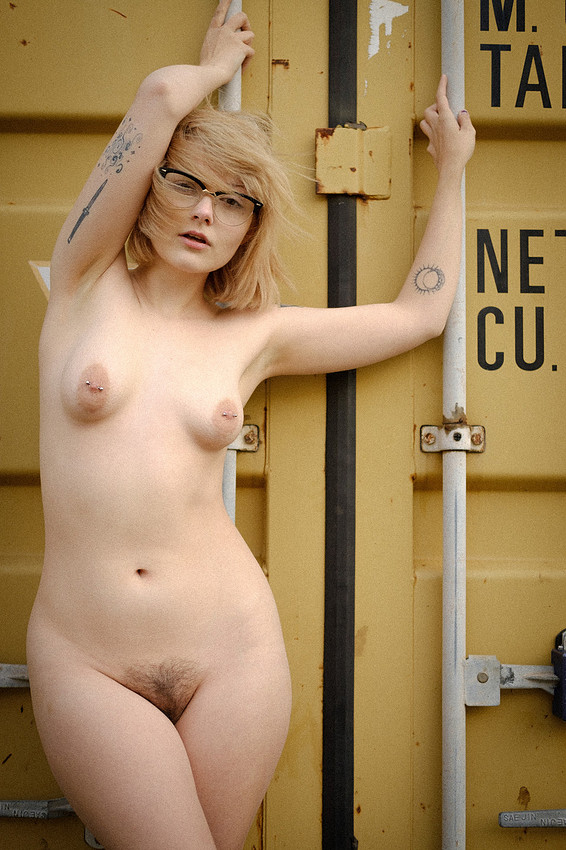
The last time I collaborated with a model was back in 2020, so I was delighted to have the chance to work with the amazing Alice Crowe last weekend. I had two main objectives for this shoot: (1) get the rust out of my system and remember how to shoot a model; and (2) start building a collaborative relationship with a good local model for future wet plate work.

Ms. Crowe was an absolute delight to shoot: She was professional, communicated clearly, and was willing to brave a chilly and rainy February day with a smile. It was great to brainstorm the shoot concept with Alice, and I chose a few props and accessories based on our conversations.

In my experience, I break at least one piece of photographic equipment every time I shoot. Last weekend's shoot was no exception, and I was bummed to realize that my trusty Minolta SRT-101's meter wasn't working. No problem, since I tend to prefer using a dedicated incident light meter. I also discovered that the eye-viewfinder on my Fuji X-T2 was no longer working. This was more of a problem, since I rely on the excellent focus-peaking aide on the X-T2 to nail focus with my fast 58mm f/1.4 Rokkor lens. I simply could not see the main LCD well enough to reliably focus my manual focus lenses, so I had to rely on the (excellent and affordable) Fujinon XF 35mm f/2 R autofocusing lens instead of using my preferred manual focus vintage lenses. A new Fuji X-T5 is not in the cards for me right now, so I'll be looking for a viewscreen hood to make using the X-T2's back panel easier in bright light.
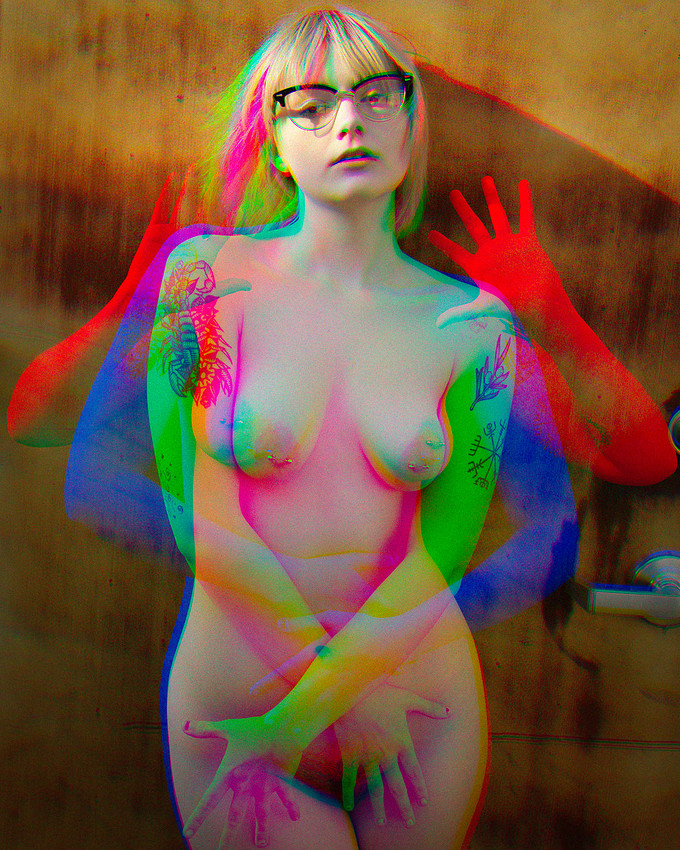

I am delighted with how the digital shots turned out: the trichromie shots look cool, and I've really found myself enjoying the look of the X-T2's Neopan Acros + Green Filter and Astia film emulation modes. Don't get me wrong: I still prefer shooting film for people, but the X-T2's film emulation modes do a decent job taking some of the "cold and clinical" digital look out of my photos.
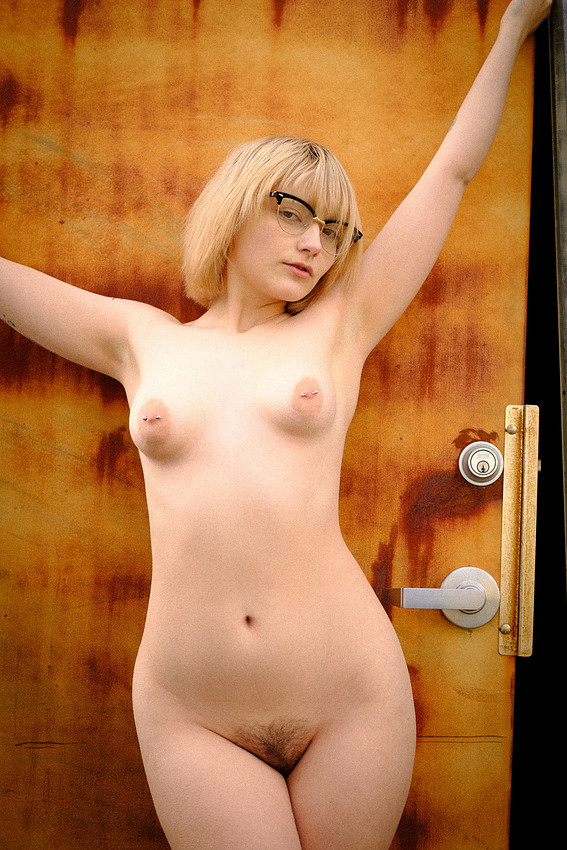
So, what's next? I can't wait to collaborate with Alice again! During our brainstorming, I had some ideas that we just couldn't execute last weekend. Ms. Crowe was wonderful to work with, and so I know we'll have a chance to try out more looks and concepts in the future. Working with a talented model really made me wish I were up and running with my wet plate setup, so this shoot lit a fire under me to get confident enough with that process to be able to use it on "real" photoshoots!
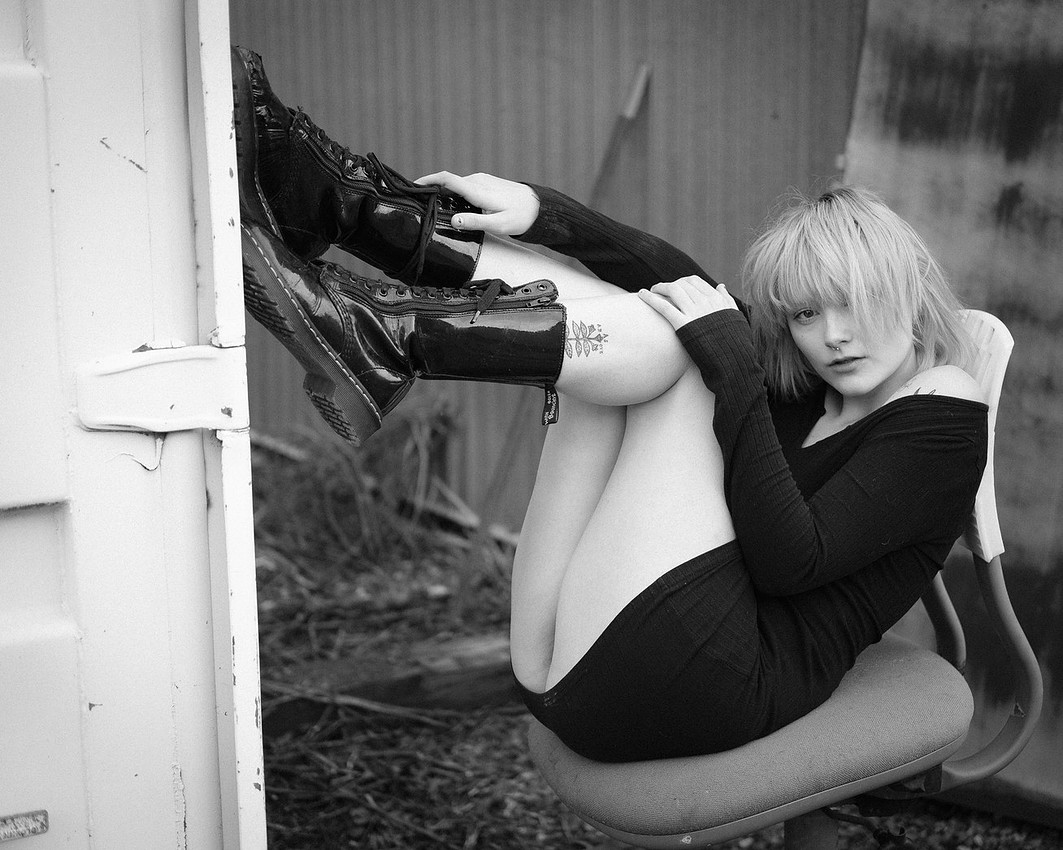
In addition to using my digital camera, I also shot several rolls of Revolog Kolor (a special effects film I enjoy using) with my 35mm camera. I'll be processing and scanning those photographs over the next couple of weeks, and I'll be sharing them in a future blog entry.
Cheers,
iggybug
Coming Back to Shoot 8x10 Wet Plates
 So, I haven't seriously make photographs since ~2019. I started a new (stressful and all-consuming) job, then COVID hit, then I had to dismantle my darkroom during a move, etc. etc. etc.
I missed photography, but it wasn't until 2023 that I was ready to start photographing again. Unfortunately, more personal drama and another job switch happened.
Now, it's 2024 and I'm back for real.
I'm going to use this blog to document my return to photography and switch away from 35mm to 8x10.
1. Why aren't you shooting 35mm any more?
This is a tough one, since my "best" (or at least my favorite images) over the past few years have all been taken with vintage 35mm gear: My beloved Minolta SRT-101 ($15 at a thrift store) and my cherished Minolta Rokkor 58mm f/1.4 lens ($25 at a thrift store).
I still love my 35mm gear, but I just cannot bring myself to pay $15 per roll of Kodak Porta or Revolog Kolor (when it isn't sold out). I also no longer have a quality film scanner. Most importantly, I can't believe that the manufacturers will continue to manufacture the emulsions I like. My heart was broken by Fujifilm FP-100c, which was discontinued shortly after I started using it almost exclusively to create emulsion lifts, recovered negatives, etc. on my Mamiya RZ67.
I've shot 4x5 extensively in the past, and I had always wanted to learn the wet plate process. I've decided to start over and build an 8x10 system that will allow me to shoot wet plate in a large enough size to be meaningful and use inexpensive paper negatives. I have no intention of shooting E-6 or C41 color on 8x10 because of cost constraints and the fact that I can no longer scan 8x10 negatives without spending $1300 on a new Epson V850 scanner. (My super cheap Epson V19 works perfectly for scanning wet plates and paper negatives!)
2. What is your 8x10 system?
Since I love shooting portraiture and nudes on location, and since I no longer have a large darkroom in my garage, I've purchased a car-portable darkroom. It's snug, but it works really well.
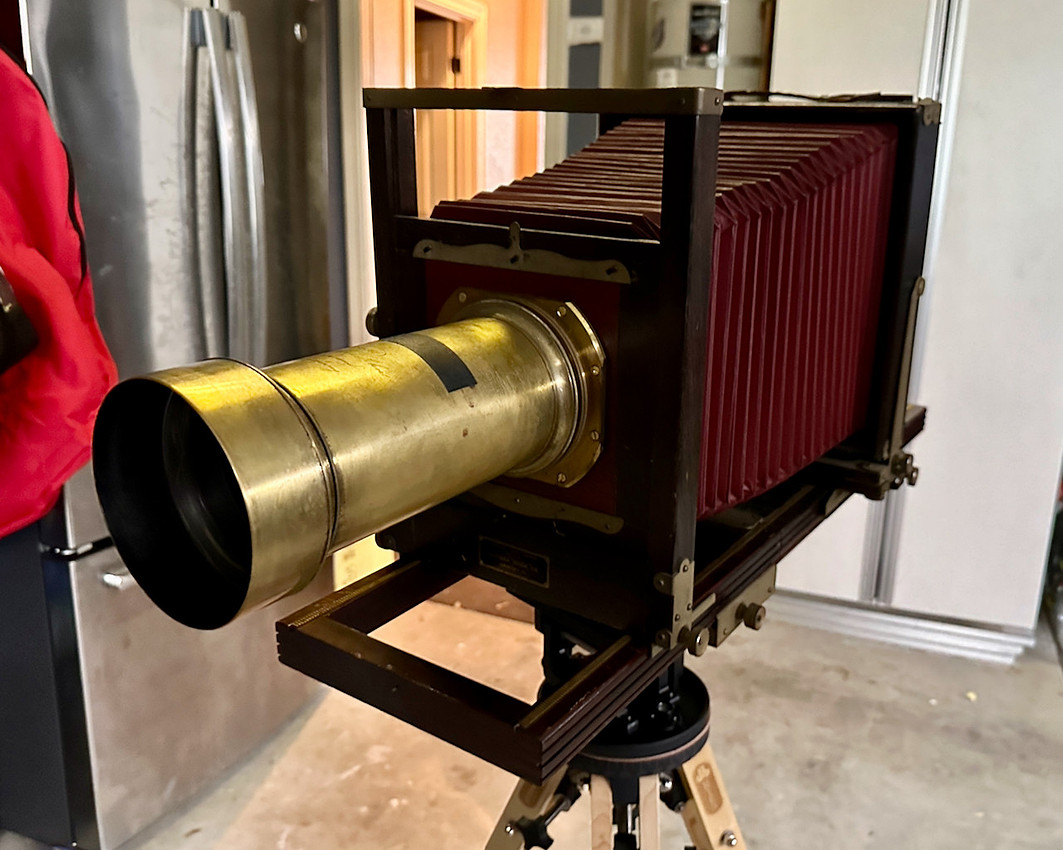
My camera is a ~1920s Kodak 2D 8x10. It's definitely got some miles on it, it's not super stable, and some of the controls are janky. But the price was right and it's nice looking.
My lenses are the really fun part.

The all-star is a 364mm f/4.7 Voigtlander Petzval lens dated to 1865 or 1866. It weighs almost five pounds, so it's not the most stable on my Kodak 2D camera. I had to upgrade my tripod just for this lens.
I also have a ~1900s-1910s Ross Universal 400mm f/6 petzval lens.
Finally, for wider angles and when I want to shoot something with a shutter, I have an inexpensive but high quality Fujinon-W S 250mm f/6.7.
My Gitzo carbon fiber tripod wasn't up to the task of keeping my camera and lens stable, so I finally bought a Ries wooden tripod. It weighs a ton, was really expensive, and took forever to ship, but it's a beautiful piece of equipment that is up to the task.
3. Where are you new photographs?
I'm working on it. I don't want to use the same shooting locations that I've used in the past, and I recently moved. I'm currently scouting new locations where I live, figuring out how to convert my garage into a studio, and figuring out how to shoot outside of my house in good light with a seamless paper background to fake the look of a good studio.
I have all of the equipment, chemistry, and other supplies ready to shoot wet plate. I'm currently watching videos and waiting for a workshop so that I can learn how to pour plates correctly from someone in person.
In the meantime, I have been shooting paper negatives on Ilford VC RC glossy paper. This has been fun, since it has been a great way to get back into the darkroom using supplies that don't cost an arm and a leg! I shoot my paper at ~ ISO 1, so it's also a great way for me to get used to the longer exposures I'll be working with in wet plate, practice using a lens cap and counting off seconds instead of a shutter, etc. Here are a couple of shots:
I'm happy with this portrait of my beloved. This is an 8 second exposure, and using a head brace kept it reasonably sharp. The exposure I estimated was just about spot on, and further practice will reduce the mild vibrations that are affecting this image. Bonus: The shallow DOF of the Voigtlander petzval hides my messy garage.

I'm significantly less happy with this photo of an old farm building. This was an 8 second exposure using my 400mm f/6 Ross Universal petzval. It's a boring photograph of a subject that needs a wider angle lens, and my exposure estimate was off -- this should have been a ~16 second exposure. I also overdid the rear tilt. I'm also not seeing the famous petzval bokeh in it. But at least it's sharp!

Please stay tuned. Hopefully I'll be opening a new "Wet Plate" section of my portfolio. In the meantime, I'll keep writing to document my progress learning a new historic photo technique.
Revolog Film

A few years back, I started following a photographer on Flickr named PhilmFotography D. I loved his aesthetic: I could tell he was using 35mm film cameras, but I couldn't figure out how he got those cool warped colors that I really enjoyed.
After a bit of Googling, I discovered that there's a whole world of special effects 35mm film available.
My favorite manufacturer is a small partnership out of Vienna, Austria called Revolog. They hand-expose and hand-roll a line of special-effects 35mm films, and I'm deeply in love with their rainbow film called, appropriately-enough "Revolog Kolor."
 One of the things I most love about this film is its unpredictability; I have no way of knowing what preexposed color is going to be under a given picture. The film also behaves a bit strangely; sometimes, the color is muted in a given roll, and sometimes it's wildly saturated. It's great stuff, and the little endorphin rush I get when scanning and processing a roll of it is awesome.
I tend to underexpose this film by ~1 stop while shooting, which increases the visibility of the underlying pre-exposed colors. I also like intentionally opening the back of my camera before rewinding the exposed film roll, which produces those super-fun light leaks.
 All photos in this post were taken with a Minolta SRT-101, using inexpensive-but-excellent Minolta Rokkor legacy glass. All photos were home-developed in C-41 chemistry purchased through Freestyle Photographic Supplies. Developing color negative film at home is surprisingly easy, especially if critical color accuracy isn't required. Since I mostly shoot psychedelic color film, a little bit of color inaccuracy is totally no big deal.
Trichromatic Photography

I've been enjoying experimenting with the trichromy process lately.
It's an old process, dating from 1868, reproducing color using three black and white exposures filtered into red, green, and blue channels.
A "perfect" trichromatic image would involve three completely simultaneous filtered images, each taken at the exact same position in relationship to the subject. This would result in a combined picture with the red, green, and blue channels matching up perfectly, and the subject not shifting in position at all.
We live in an imperfect world, and despite my best efforts, it's darn hard to make a perfect trichromatic image. And, given that color film is readily available, what's the point of making a technically perfect trichromatic image anyway?

What I've been really excited about, though, is intentionally playing with imperfections in the process. By intentionally adding movement & changing the relationship between the camera and subject, the red, green, and blue channels don't line up perfectly. This results in "rainbow" effects in the final, combined image.
The image below shows the three individual black and white photos taken with different colored filters in front of the lens, and how they're combined into a final "color" image. Check out the difference in skin tones the different colored filters produce. And where the layers don't line up, rainbows result. The model's hair blowing in the wind created this cool effect here.

These shots are examples of intentionally messing with the process. All were taken with a $15 Minolta SRT-101 35mm camera, inexpensive lenses, black and white film, and $1.00 Chinese plastic red, green, and blue filters.

Several of the photographs in my Anima gallery feature this technique.